
Tile Roof Installation Guide Overview
This guide provides comprehensive instructions for installing tile roofs, covering materials, tools, and step-by-step processes to ensure durability and watertight protection. Refer to the Tile Roofing Institute’s updated manual for detailed insights and compliance with local codes.
Tile roofing offers durability, fire resistance, and aesthetic appeal, making it a popular choice for homeowners. Available in materials like clay, concrete, and metal, tile roofs provide long-lasting protection against weather elements. Their versatility suits various architectural styles, from modern to traditional designs. Proper installation ensures energy efficiency and resistance to heavy winds, making them ideal for diverse climates. Refer to the Tile Roofing Institute’s guidelines for optimal results.
1.2 Importance of Proper Installation
Proper tile roof installation is crucial for ensuring structural integrity, preventing leaks, and maximizing lifespan. Incorrect techniques can lead to costly repairs and compromised safety. Adhering to manufacturer guidelines and local building codes ensures a watertight seal and resistance to environmental stressors. A well-installed roof protects against wind uplift, insect infiltration, and weather damage, safeguarding both the roof and the entire building structure effectively.

Planning and Preparation for Tile Roof Installation
Assess the roof structure, choose suitable tiles, and ensure compliance with local codes. Proper planning ensures a durable and watertight installation, following manufacturer guidelines.
2.1 Assessing the Roof Structure
Evaluate roof pitch, measure rafters, and ensure structural integrity. Verify compatibility with tile weight and local building codes. Check for damage or rot and address before installation. Ensure proper ventilation and drainage systems are in place to support the tile roof effectively.
2.2 Choosing the Right Tile Type
Select tile type based on climate, budget, and aesthetic preferences. Clay, concrete, and porcelain tiles are popular options. Consider factors like durability, weight, and fire resistance. Ensure tiles meet local building codes and are suitable for your roof pitch. Consult manufacturers’ guidelines for specific recommendations and warranty details to make an informed decision.
Tools and Materials Needed
Essential tools include tile cutters, drills, hammers, and safety gear. Materials comprise underlayment, battens, and roofing tiles. Ensure all items meet manufacturer specifications for durability and compatibility.
3.1 Essential Tools for the Job
Key tools include tile cutters, drills, hammers, utility knives, and measuring tape. Safety gear like gloves and harnesses is crucial. Use ladders, scaffolding, and roofing nails for secure installation. Ensure all tools are in good condition to handle clay or concrete tiles effectively and safely.
3.2 Required Materials
Essential materials include high-quality clay or concrete tiles, underlayment, battens, roofing nails, and flashings. Sealants and cement mortar are vital for watertight seals. Ensure all materials meet local building codes and manufacturer specifications for durability and weather resistance. Proper material selection guarantees a structurally sound and long-lasting roof installation.
The Installation Process
The installation involves preparing the roof deck, laying battens, and securing tiles with nails. Valleys, hips, and ridges are then installed for a watertight finish.
4.1 Preparing the Roof Deck
Ensure the roof deck is structurally sound and clear of debris. Inspect for rot or damage and repair as needed. Verify the deck is level and even, addressing any unevenness. Install underlayment according to manufacturer instructions for weather protection. Check local building codes for compliance. Ensure the deck is dry before proceeding with further installation steps.
4.2 Laying the Battens
Battens are horizontal or vertical supports for tiles. They should be securely fastened to the roof deck, spaced according to tile size and manufacturer instructions. Ensure battens are level and aligned properly. Use durable materials like treated wood or metal for longevity. Check spacing to accommodate tile size and ensure even distribution of weight for structural integrity. Follow local building codes for compliance.
4.3 Starting the Tile Installation
Begin tile installation at the roof’s lowest point, ensuring alignment with the chalk line. Secure the first tile with approved fasteners. Maintain consistent spacing as per manufacturer guidelines. Check tile alignment periodically to avoid misplacement. Use a level to ensure straight lines and proper overlap. Follow the pattern specified in the installation manual for a secure and visually appealing finish.
Special Features and Considerations
Install valleys and hip/ridge tiles with precision, ensuring proper sealing. Use materials like cement mortar as specified in standards to maintain structural integrity and prevent leaks.
5.1 Installing Valleys
Valley installation requires precision to ensure watertight performance. Use reinforced tiles and proper spacing. Apply a waterproof underlayment and secure tiles with approved fasteners. Follow TRI guidelines for alignment and sealing to prevent leaks, especially at joints and corners, ensuring compliance with local building codes for durability and safety.
5.2 Hip and Ridge Installation
Hip and ridge tiles are installed along the roof’s highest points for weather protection. Ensure tiles are aligned and securely fastened, overlapping joints by at least 75mm. Use appropriate sealants for watertightness and follow the Tile Roofing Institute’s guidelines to prevent wind uplift and ensure structural integrity, maintaining aesthetic appeal and durability.

Ensuring a Watertight Roof
A watertight roof requires proper flashing, sealants, and tile alignment. Regular inspections and maintenance are crucial to prevent leaks and ensure long-lasting protection against weather conditions.
6.1 Flashing and Sealants
Proper flashing installation around vents, chimneys, and valleys is essential to prevent water infiltration. Use durable sealants like silicone to secure flashing and ensure a watertight seal. Regularly inspect and maintain flashing to prevent leaks, as compromised areas can lead to structural damage. Always follow manufacturer guidelines for sealant application to maximize effectiveness and longevity of the roofing system.
6.2 Checking for Leaks
Regularly inspect the roof for signs of leaks, such as water stains or damaged tiles. Conduct thorough checks after storms or extreme weather. Use a systematic approach to identify vulnerabilities, especially around flashing and valleys. Address any issues promptly to prevent further damage and ensure the integrity of the roofing system remains intact over time.

Maintenance and Repair
Regular inspections and cleaning of debris are crucial for maintaining tile roofs. Address damaged tiles promptly to ensure longevity and prevent structural issues. Schedule annual checks and repairs to uphold the roof’s integrity and functionality over time.
7.1 Routine Maintenance
Regular inspections are essential to maintain tile roofs. Clear debris like leaves and branches to ensure proper water flow. Check for cracked or missing tiles and secure loose ones. Inspect flashing and valleys for tight seals. Schedule professional inspections annually to address potential issues early, preventing costly repairs and ensuring the roof’s longevity and performance.
7.2 Repairing Damaged Tiles
For damaged tiles, remove the broken piece carefully to avoid further damage. Clean the area and apply a compatible adhesive or mortar. Secure the new tile, ensuring proper alignment with surrounding tiles. Use materials matching the original specifications. Regular inspections can help identify and address issues early, preventing further damage and maintaining the roof’s integrity and appearance.
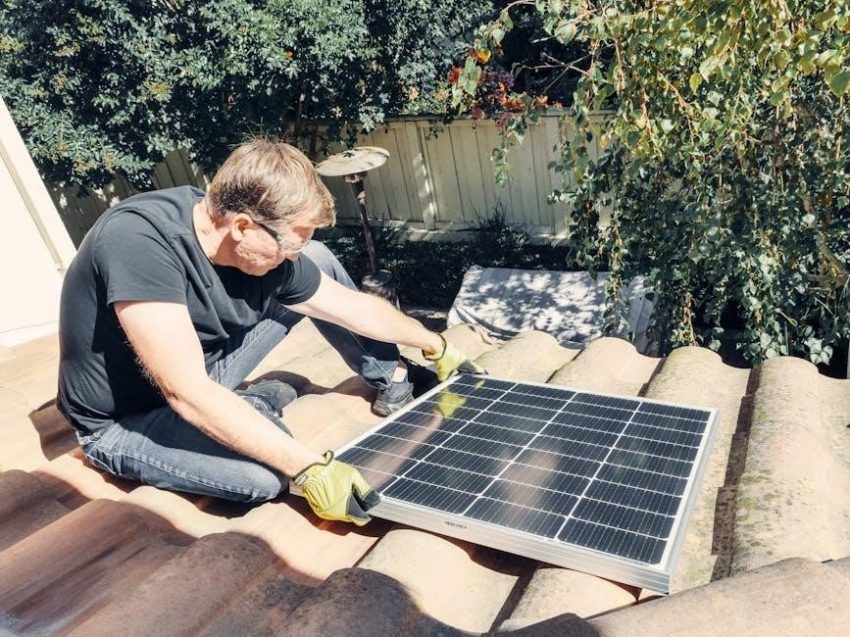
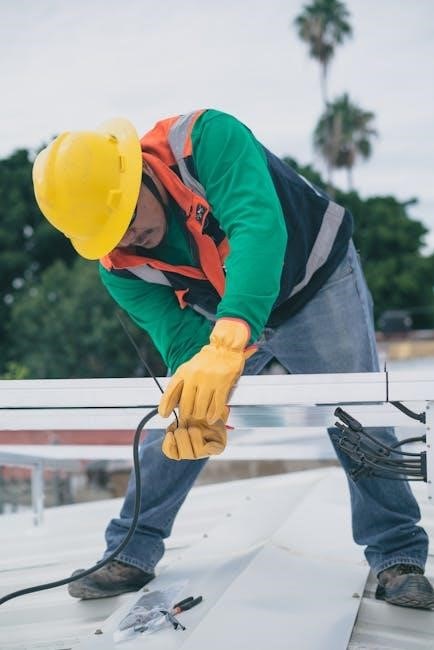
Safety Precautions
Always wear safety gear, including gloves, hard hats, and harnesses, when installing or repairing tile roofs. Ensure proper scaffolding and ladder setup to prevent falls and injuries.
8.1 Safety Gear
Essential safety gear for tile roof installation includes hard hats, safety harnesses, gloves, and non-slip shoes. These items protect against falls, cuts, and head injuries, ensuring a secure working environment; Always inspect gear before use and replace worn-out equipment to maintain safety standards throughout the project.
8.2 Best Practices
Adhere to best practices by ensuring proper ladder placement, securing tools, and maintaining a clean workspace. Regularly inspect equipment, follow manufacturer guidelines, and ensure all team members are trained in safety protocols. Plan tasks according to weather conditions to avoid hazards and ensure a stable, injury-free work environment.

Compliance with Local Codes
Ensure tile roof installations meet local building codes and regulations, referencing the Tile Roofing Institute’s updated manual for IAPMO approval and IRC compliance.
9.1 Building Codes
Compliance with local building codes is crucial for tile roof installations. The Tile Roofing Institute’s manual outlines requirements for wind uplift design and material standards, ensuring safety and durability. Contractors must adhere to these guidelines to meet regulatory standards and avoid structural issues. Proper permitting and inspections are also essential to guarantee compliance and protect against potential hazards.
9.2 Permits and Inspections
Obtaining necessary permits before starting tile roof installation is mandatory. Schedule inspections at key stages, such as after deck preparation and tile placement. Adhere to local regulations and ensure compliance with building codes to avoid penalties. The Tile Roofing Institute’s guidelines emphasize the importance of inspections for safety and durability, ensuring all installations meet required standards.

Manufacturer Instructions
Adhere to manufacturer guidelines for tile roofing materials and installation processes. Follow detailed manuals for proper techniques, ensuring compliance with local codes and optimal roofing performance.
10.1 Following Guidelines
Always follow the manufacturer’s installation guidelines for tile roofing to ensure compliance with material specifications and local codes. Proper techniques, as outlined in manuals like the Tile Roofing Institute’s, prevent common issues. Adhere to recommended materials, tools, and methods to maintain warranty validity and achieve a durable, watertight roof. This ensures long-term performance and avoids potential leaks or structural damage.
10.2 Warranty Considerations
Understanding warranty terms is crucial for tile roof installations. Most manufacturers require adherence to specific installation guidelines to maintain warranty validity. Ensure all products are registered and that installations comply with recommended practices. Regular inspections and maintenance are often mandatory to uphold warranty conditions and prevent voidance due to negligence or improper care.

Case Studies and Examples
Case studies highlight successful tile roof installations, showcasing real-world applications and challenges. These examples provide practical insights and lessons learned to ensure optimal results in various roofing projects.
11.1 Successful Installations
Real-world examples of successful tile roof installations demonstrate adherence to best practices, showcasing durable and aesthetically pleasing results. Ludowici and Brava Roof Tile projects highlight proper technique and material selection, ensuring long-term performance and compliance with local building codes, while enhancing the structure’s curb appeal and functionality.
11.2 Lessons Learned
Successful tile roof installations emphasize proper design, material selection, and adherence to guidelines. The Tile Roofing Institute’s updated manual highlights wind uplift criteria and mortar mix ratios to prevent common issues like leaks. Contractors must ensure tight laps and secure fastening to avoid structural damage, while complying with local codes for long-term durability and functionality.

Final Inspection and Completion
Ensure a thorough walk-through checklist is completed, verifying all tiles are secure and aligned. Confirm compliance with local codes and manufacturer specifications for a durable, weather-tight finish.
12.1 Walk-Through Checklist
Conduct a final inspection to ensure all tiles are properly aligned, securely fastened, and free from damage. Verify flashed areas, valleys, and ridge caps are watertight. Check gutters and downspouts for clear pathways. Ensure all manufacturer instructions and local codes are met. Review the installation for completeness and durability before final approval.
- Inspect tile alignment and securement.
- Verify flashing and sealants around vents and valleys.
- Check ridge caps for proper installation.
- Ensure gutters and downspouts are clear and functioning.
- Confirm all repairs and touch-ups are completed.
12.2 Final Touches
Complete the installation by addressing minor repairs, cleaning debris, and applying final sealants. Ensure all tiles are securely fastened and aligned. Touch up any damaged or mismatched tiles for a uniform appearance. Conduct a final inspection to confirm the roof is watertight and meets all quality standards before handing over the project.
- Clean the roof surface and surrounding areas.
- Inspect and repair any damaged tiles or sealants.
- Apply final touches to ensure a polished finish.
- Prepare the site for final inspection and approval.
Additional Resources
Explore detailed guides, manuals, and tutorials from the Tile Roofing Institute and manufacturers for advanced techniques and troubleshooting. Visit www.redlandclaytile.com for comprehensive resources and updates.
- Refer to the TRI manual for updated design criteria.
- Access online tutorials for visual installation guidance.
- Consult manufacturer-specific installation guides for specific products.
13.1 Recommended Reading
The Tile Roofing Institute’s updated manual is a primary resource, offering detailed installation criteria. Ludowici’s guide provides region-specific techniques, while Daltile’s manual ensures compliance with local codes. Australian Standard 2050 and FRSA/TRI Model Tile Guidelines are also essential for understanding roofing best practices and material specifications.
- Tile Roofing Institute (TRI) manuals for design and installation criteria.
- Ludowici’s regional installation techniques.
- Daltile’s compliance-focused guides.
- Australian Standard 2050 for material specifications.
13.2 Online Tutorials
Online tutorials provide practical insights and visual guidance for tile roof installation. The Tile Roofing Institute (TRI) offers detailed video guides, while Brava Roof Tile shares step-by-step installation tutorials. Additionally, manufacturers like Ludowici and Daltile provide instructional content to complement their printed manuals, ensuring installers can follow best practices for various tile types and roof configurations.
- Tile Roofing Institute (TRI) video guides.
- Brava Roof Tile installation tutorials.
- Ludowici’s instructional content.
- Daltile’s complementary video resources.