
Discover the classic method of brewing coffee with a Farberware Coffee Percolator. This guide provides step-by-step instructions for optimal brewing, maintenance, and troubleshooting to ensure the perfect cup of coffee.
Overview of the Farberware Percolator
The Farberware Percolator is a classic brewing device that delivers rich, full-bodied coffee through a cyclical percolation process. Known for its durable stainless steel construction, it features an internal pumping system that circulates boiling water through coffee grounds. Designed for home use, it combines simplicity with effective functionality, making it a popular choice for coffee enthusiasts; The percolator’s design ensures consistent flavor extraction, while its compact size fits seamlessly into any kitchen setting.
Importance of Proper Usage and Maintenance
Proper usage and maintenance of your Farberware Percolator ensure optimal performance and longevity. Regular cleaning prevents coffee residue buildup, while drying avoids rust formation. Storing the percolator in a cool, dry place maintains its condition; Proper placement on heat sources and avoiding overfilling prevent damage. Always handle hot components with care to avoid burns. Following these guidelines ensures consistent brewing quality and extends the lifespan of your percolator, delivering delicious coffee for years to come.

Understanding the Components of a Farberware Percolator
A Farberware Percolator features a perforated tube, pump system, and coffee basket. These components work together to cycle boiling water through coffee grounds, ensuring even extraction and rich flavor.
Main Parts of the Percolator
The Farberware Percolator consists of a water reservoir, coffee basket, perforated tube, pump system, and spreader. The reservoir holds water, while the coffee basket contains grounds. The perforated tube and pump system circulate hot water through the grounds, and the spreader ensures even distribution. These components work together to brew rich, flavorful coffee efficiently. Understanding each part helps in proper assembly and operation for optimal brewing results.
Functionality of the Perforated Tube and Pump System
The perforated tube and pump system are essential for the Farberware Percolator’s operation. The tube features small holes, allowing water to flow through while keeping coffee grounds contained. The pump system circulates boiling water from the reservoir up through the tube, repeatedly saturating the grounds. This continuous cycling ensures thorough extraction, resulting in a robust and full-bodied coffee flavor. Proper maintenance of these parts is crucial for consistent brewing performance and longevity of the percolator.
Preparation Steps for Brewing Coffee
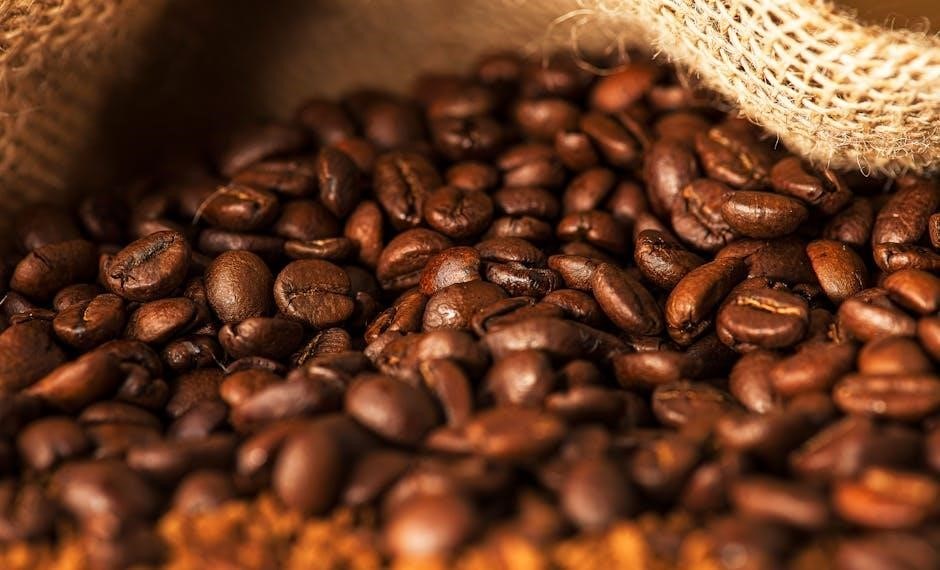
Gather fresh coffee beans, a grinder, and your Farberware percolator. Measure the ideal coffee-to-water ratio and grind the beans to a coarse texture for optimal brewing results.
Gathering Necessary Supplies and Tools
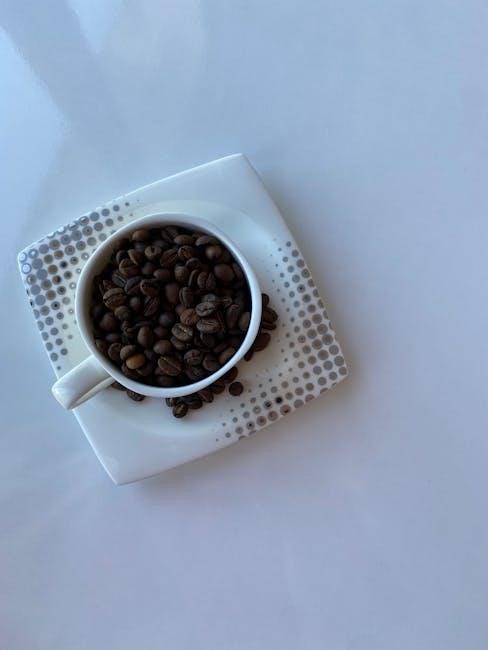
To brew coffee with your Farberware percolator, you’ll need a few essential supplies. Start with fresh, high-quality coffee beans and a burr grinder for optimal freshness. Measure tools like a tablespoon or a coffee scoop are crucial for achieving the perfect ratio. Fresh, cold water is essential for brewing, and a filter or the percolator’s built-in basket will hold the grounds; Ensure your percolator is clean and dry before use, and have a power source ready for electric models. Proper preparation ensures a smooth brewing experience.
Measuring Coffee and Water Ratio
For an 8-cup Farberware percolator, use 2 tablespoons of ground coffee per cup of water, totaling 16 tablespoons for a full pot. For a 12-cup model, use 3 tablespoons per cup, resulting in 36 tablespoons or about 1 cup of grounds. Adjust the ratio to suit your taste preferences, adding a bit more for a bolder flavor or less for a lighter brew. Consistency is key to achieving the perfect cup every time.

Brewing Process: Step-by-Step Guide
Add water to the reservoir, insert the coffee basket with grounds, and plug in the percolator. The percolation process begins, cycling hot water through the grounds until your coffee reaches the desired strength, then automatically switches to keep warm.
Adding Water to the Reservoir
Fill the reservoir with fresh, cold water, ensuring the level stays below the maximum mark to prevent overflow. 2. Place the percolator on a burner sized to fit its base to avoid overheating. 3. Secure the lid tightly to ensure proper percolation. Always use cold water for optimal flavor and to prevent damage to the unit.
Inserting the Coffee Basket and Grounds
Place the coffee basket into the percolator, ensuring it sits securely in the center well. Add freshly ground coffee, using one tablespoon per cup of water. Gently spread the grounds evenly. Attach the spreader and snap the lid into place. Make sure all components are tightly secured to allow proper water circulation and even extraction during brewing. Avoid overfilling the basket to prevent clogging. Proper placement ensures optimal flavor and aroma.
Plugging In and Starting the Percolation
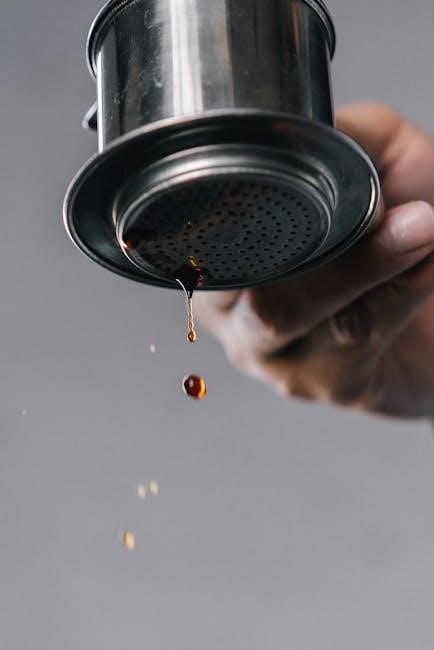
Connect the Farberware percolator to a power source using the provided cord. Ensure the lid is securely closed to prevent steam from escaping. Once plugged in, the percolator will begin cycling boiling water through the coffee grounds. You’ll hear a gentle gurgling sound as brewing starts. Allow the process to complete, typically taking 8-10 minutes, until the desired strength is reached. The percolator will automatically switch to the keep-warm setting once done;
Coffee-to-Water Ratio Recommendations
For an 8-cup Farberware percolator, use 2 tablespoons of ground coffee per cup of water, totaling 16 tablespoons. For a 12-cup model, use 3 tablespoons per cup, totaling 36 tablespoons or 1 cup of ground coffee for a full pot.
Standard Measurements for 8-Cup and 12-Cup Models
For an 8-cup Farberware percolator, use 2 tablespoons of ground coffee per cup, totaling 16 tablespoons for a full pot. For a 12-cup model, use 3 tablespoons per cup, totaling 36 tablespoons or about 1 cup of ground coffee. These ratios ensure balanced extraction and rich flavor. Adjustments can be made for personal preference, but these measurements provide a reliable starting point for achieving the perfect brew.
Adjusting the Ratio for Personal Preference
Experiment with the coffee-to-water ratio to suit your taste preferences. For a stronger brew, add slightly more coffee grounds, and for a lighter brew, use fewer. Some users prefer one tablespoon per cup plus an extra for the pot, while others adjust based on roast strength. Coarse grinds work best, and tweaking the percolation time can also enhance flavor. Find your ideal balance by testing different ratios and grind sizes to refine your brewing experience;
Maintenance and Cleaning Instructions
Regular cleaning is essential for optimal performance. Wash the percolator, basket, and accessories with hot, soapy water, rinse thoroughly, and dry. Store in a cool, dry place, avoiding stacking. Avoid using abrasive cleaners to prevent damage and maintain longevity.
Post-Brew Cleaning Tips
After brewing, remove the coffee basket, spreader, and pump tube. Wash all components with hot, soapy water, then rinse thoroughly. Dry each part to prevent water spots. Regularly descale the percolator to remove mineral buildup. For tough stains, mix equal parts water and white vinegar in the reservoir, let sit, then rinse. Avoid abrasive cleaners to maintain the finish. Proper cleaning ensures longevity and prevents residue from affecting future brews.
Storage and Drying Procedures
After cleaning, dry the percolator and its components thoroughly. Store in a cool, dry place, avoiding direct sunlight. Do not stack items on the percolator to prevent damage. Ensure all parts are completely dry to avoid moisture buildup and potential rust. Regularly inspect for dust or residue and clean as needed. Proper storage preserves the percolator’s functionality and appearance, ensuring it remains in excellent condition for future use.
Troubleshooting Common Issues
Address clogging by cleaning debris from the pump tube and basket. Wet grounds spitting out may indicate overfilling or improper basket placement. Regular cleaning prevents malfunctions and ensures smooth operation.
Addressing Coffee Debris and Clogging
Coffee debris and clogging can disrupt the brewing process. Regularly clean the pump tube and basket to prevent blockages. Use a soft brush or gentle scrubber to remove residue. Ensure the spreader is securely attached to avoid grounds spilling into the pot. If clogging persists, soak parts in warm, soapy water. Proper maintenance ensures smooth percolation and prevents messes during brewing.
Fixing Pump Tube and Basket Malfunctions
If the pump tube or basket malfunctions, disassemble and clean thoroughly. Soak parts in warm, soapy water to remove stubborn residue. Use a soft brush to scrub away debris. Ensure all components are dry before reassembling. If issues persist, descale the percolator using a vinegar solution. Avoid using abrasive cleaners, as they may damage the materials. Regular maintenance will help prevent future malfunctions and keep your percolator functioning smoothly.
Optimizing Brew Quality
Use a coarse grind similar to sea salt and select high-quality coffee beans for the best flavor. Adjust grind size and bean selection to refine your brew.
Grind Size and Coffee Bean Selection
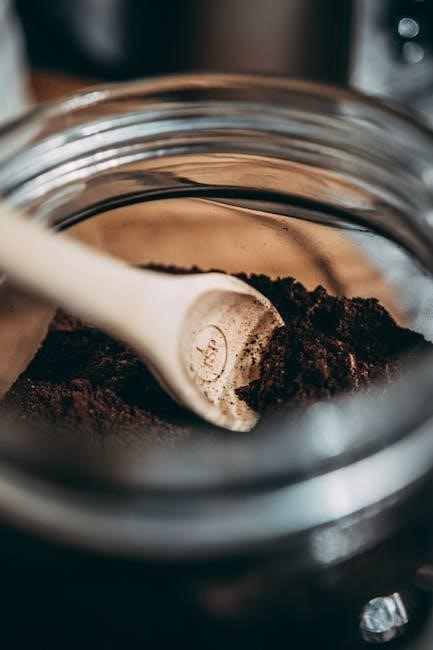
For optimal flavor, use a coarse grind, similar to sea salt, to prevent clogging and ensure proper extraction. Select high-quality, freshly roasted coffee beans for the best taste. A burr grinder is recommended for consistent grinding without generating excessive heat, which can degrade the beans. Experiment with different roasts and origins to find your preferred flavor profile, ensuring each brew is tailored to your liking.
Percolation Time and Strength Adjustment
Percolation typically takes 8 to 10 minutes, depending on desired strength. For stronger coffee, extend the cycle or use more grounds. Adjust the percolation time by monitoring the brewing process to avoid over-extraction, which can lead to bitterness. Taste and tweak the settings to match your preference for a balanced or bold brew. This ensures every cup meets your flavor expectations with ease and precision.

Safety Tips and Precautions
Always place the percolator on a correctly sized burner and avoid using a burner larger than the base. Handle hot components with care to prevent burns. Keep children away during operation and avoid overfilling to prevent spills. Regularly inspect for damage and ensure all parts are secure before brewing. Store the percolator in a cool, dry place when not in use.
Proper Placement on Heat Sources
Always position your Farberware percolator on a heat source that matches the size of its base. Avoid using a burner larger than the percolator’s diameter to ensure even heat distribution and prevent hotspots. Keep the percolator away from flammable materials and never leave it unattended while in use. Proper placement ensures safe operation, prevents damage, and guarantees optimal brewing results. Always follow the manufacturer’s guidelines for heat source compatibility.
Avoiding Overfilling and Handling Hot Components
Never fill the percolator beyond the recommended water level to prevent spills and ensure safe operation. Always use oven mitts or a towel when handling the hot lid, pump tube, or coffee basket. Avoid touching these components with bare hands to prevent burns. Keep children away from the percolator while it is in use or cooling down. Proper handling and caution will ensure a safe and enjoyable brewing experience every time.
Additional Resources and Support
Access detailed user manuals and troubleshooting guides on Farberware’s official website. For further assistance, contact Farberware customer service or refer to the provided support resources.
Accessing User Manuals and Guides
To ensure proper use and maintenance, visit the Farberware official website for detailed user manuals and guides. Downloadable PDF manuals are available for specific models, providing step-by-step instructions. Additionally, explore troubleshooting tips and warranty information. For further assistance, refer to the support page or contact customer service directly for personalized guidance. These resources are designed to help you maximize your percolator’s performance and longevity.
Contacting Farberware Customer Service
For inquiries or support with your Farberware Coffee Percolator, reach out to their customer service team. Visit their official website for contact details, including phone numbers and email. They also offer live chat and a comprehensive FAQ section for quick solutions. Ensure to have your product model number handy for efficient assistance. Their dedicated team is ready to address any concerns and provide expert advice on troubleshooting, maintenance, and optimal usage of your percolator.
Mastering your Farberware Coffee Percolator leads to a perfect cup every time. Follow these guidelines, experiment with flavors, and enjoy the traditional brewing experience it offers.

Summarizing Key Instructions for Best Results
To achieve the best results with your Farberware Coffee Percolator, ensure you use fresh, coarse-ground coffee and adhere to the recommended coffee-to-water ratio. Properly assemble the components, including the basket and pump tube, before brewing. Allow the percolator to cycle until the coffee reaches your desired strength. Regular cleaning and maintenance will prolong the life of your percolator and ensure consistent flavor. Experiment with grind size and brewing time to tailor your coffee experience.
Encouraging Experimentation and Enjoyment
Embrace the versatility of your Farberware Coffee Percolator by experimenting with different coffee beans, roast levels, and grind sizes. Adjust the coffee-to-water ratio to suit your taste preferences and monitor percolation time for desired strength. Don’t hesitate to explore various brewing times and ratios—every small tweak can elevate your coffee experience. Enjoy the journey of discovering your perfect cup and savor the rich, bold flavors your percolator delivers with ease and consistency.